HELLO,
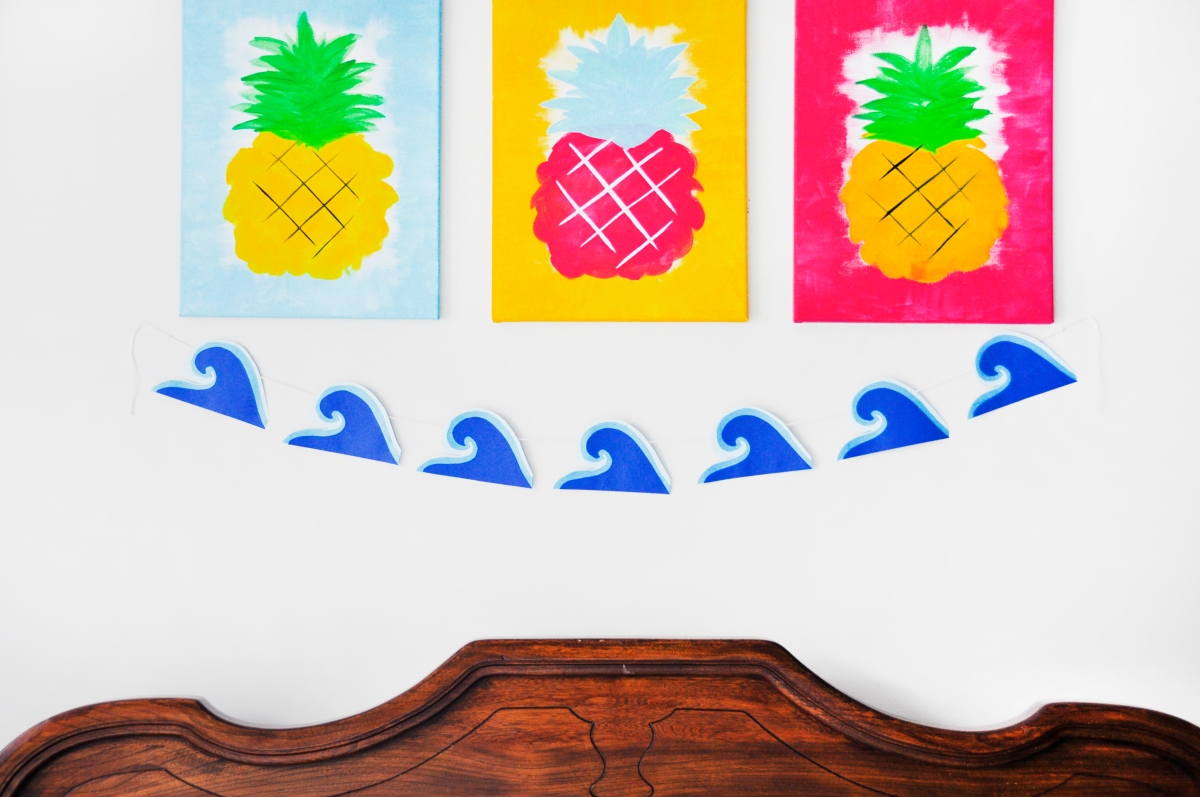
Today I thought I’d share part 1 of my ocean room decor DIY’s for all you summer loving people out there. If you love the ocean, you know there is nothing like sitting on the sand hearing the waves crash against the shore as you dig your toes into the sand and let it fall through your fingers. The ocean brings a calmness so why not add a little serenity and calmness to your room for that fresh summer feeling.
The first DIY is a cute little banner that you can hang over your bed, on your wall or over your desk.
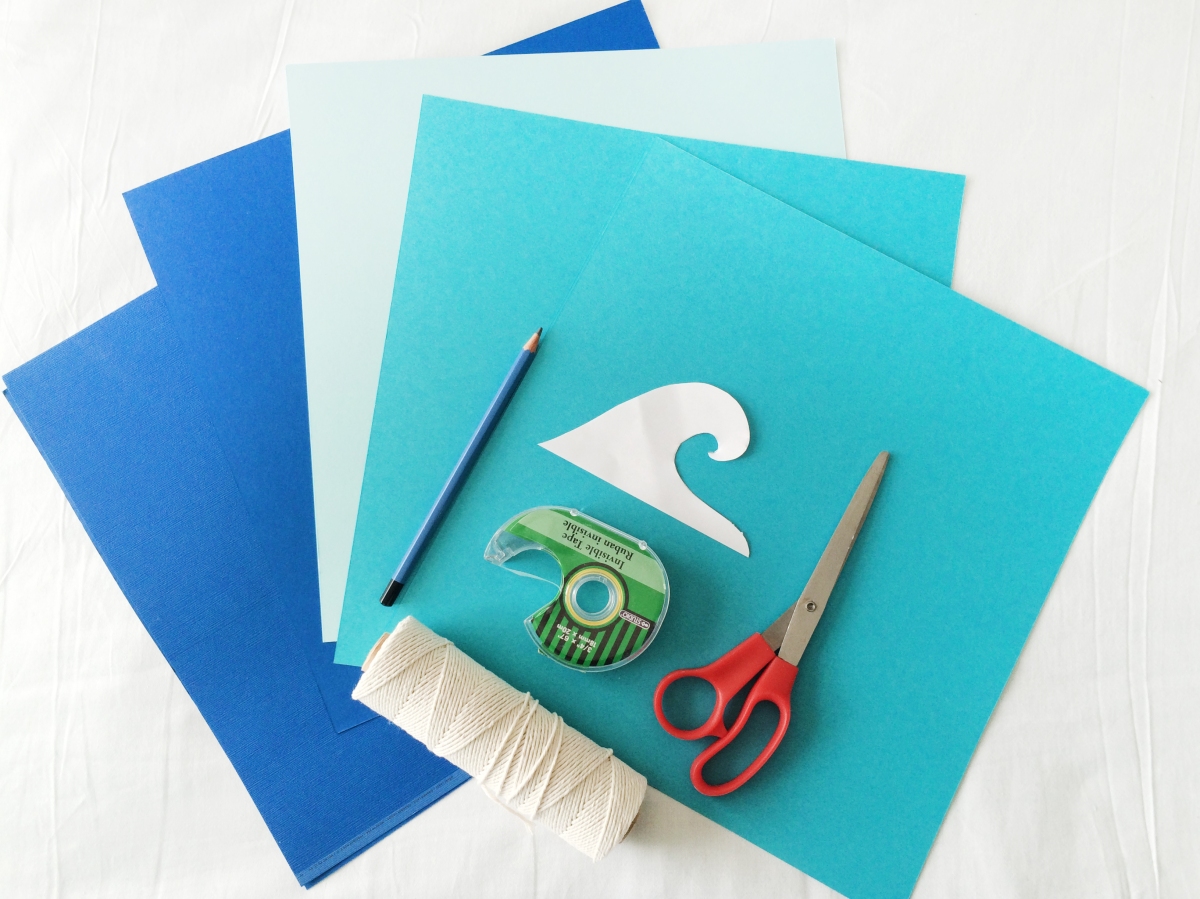
Here’s what you’ll need.
1. Different shades of construction paper or card stock, your choice.
2. Glue, liquid or stick. (I forgot to add it to the picture).
3. Tape & Scissors.
4. String
5. Optional plain paper to crate stencil.
You’ll either want to create a stencil and begin to trace that onto the paper or you can draw it right on, if you’re confident enough. I clearly am not.
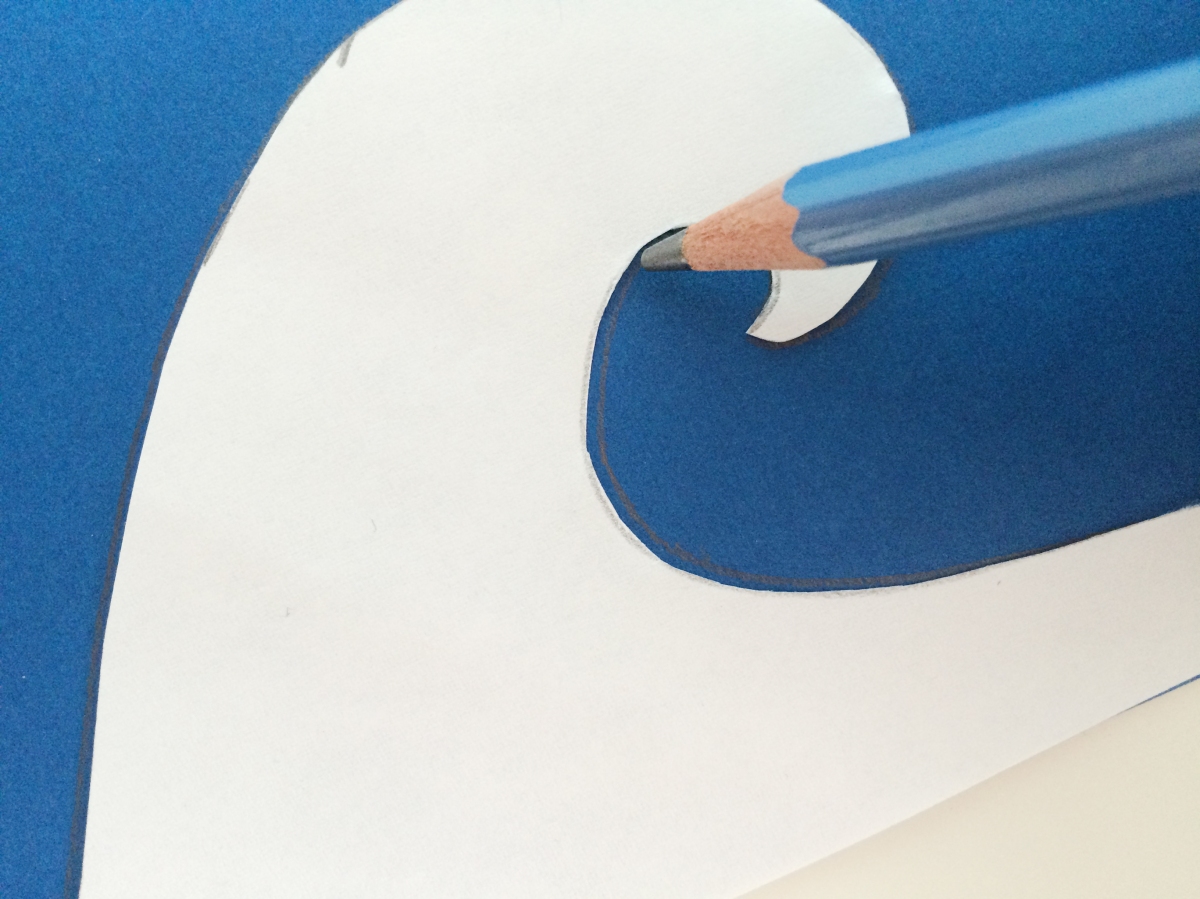
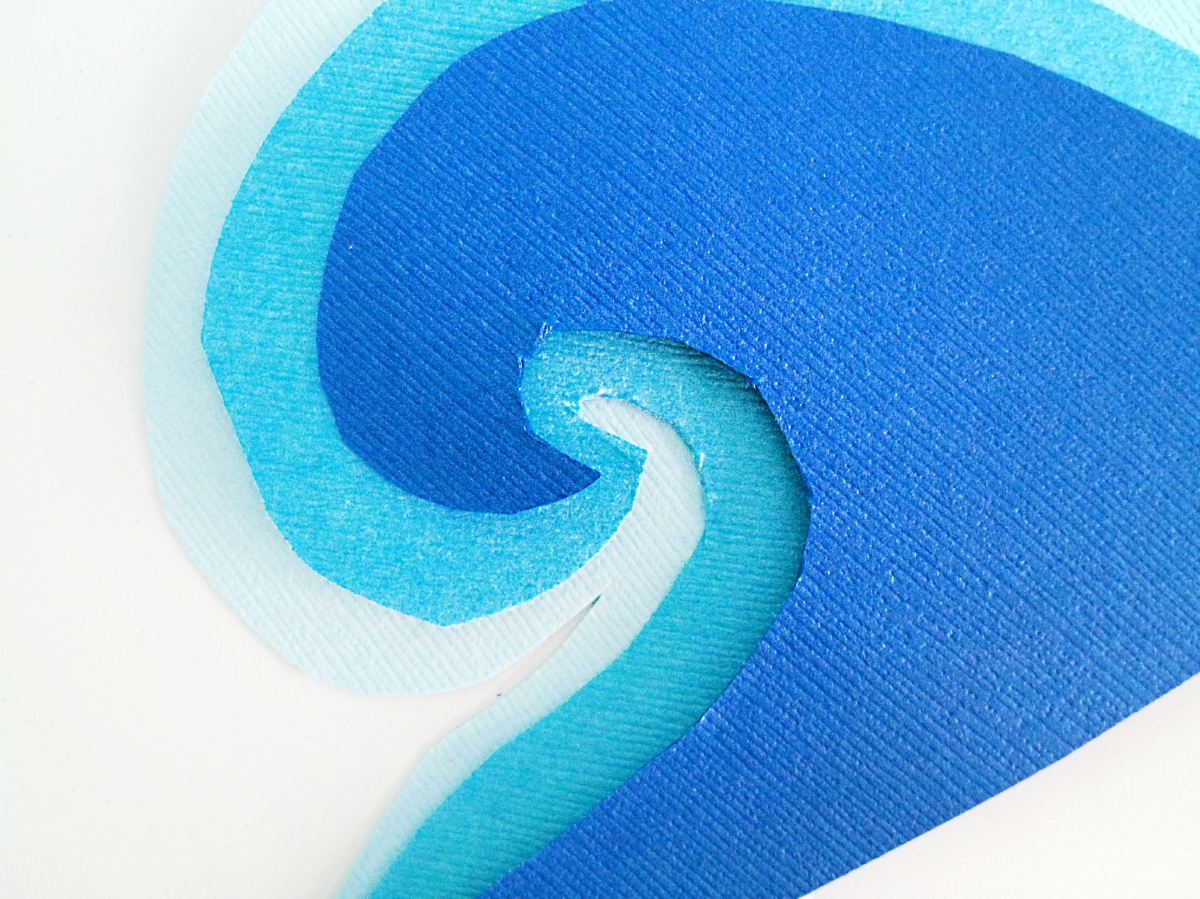
I traced about seven onto my paper. I then went and created a stencil slightly larger than the original, then I made a stencil slightly larger than that one. Next I traced each onto separate coloured paper to get an ombre effect.
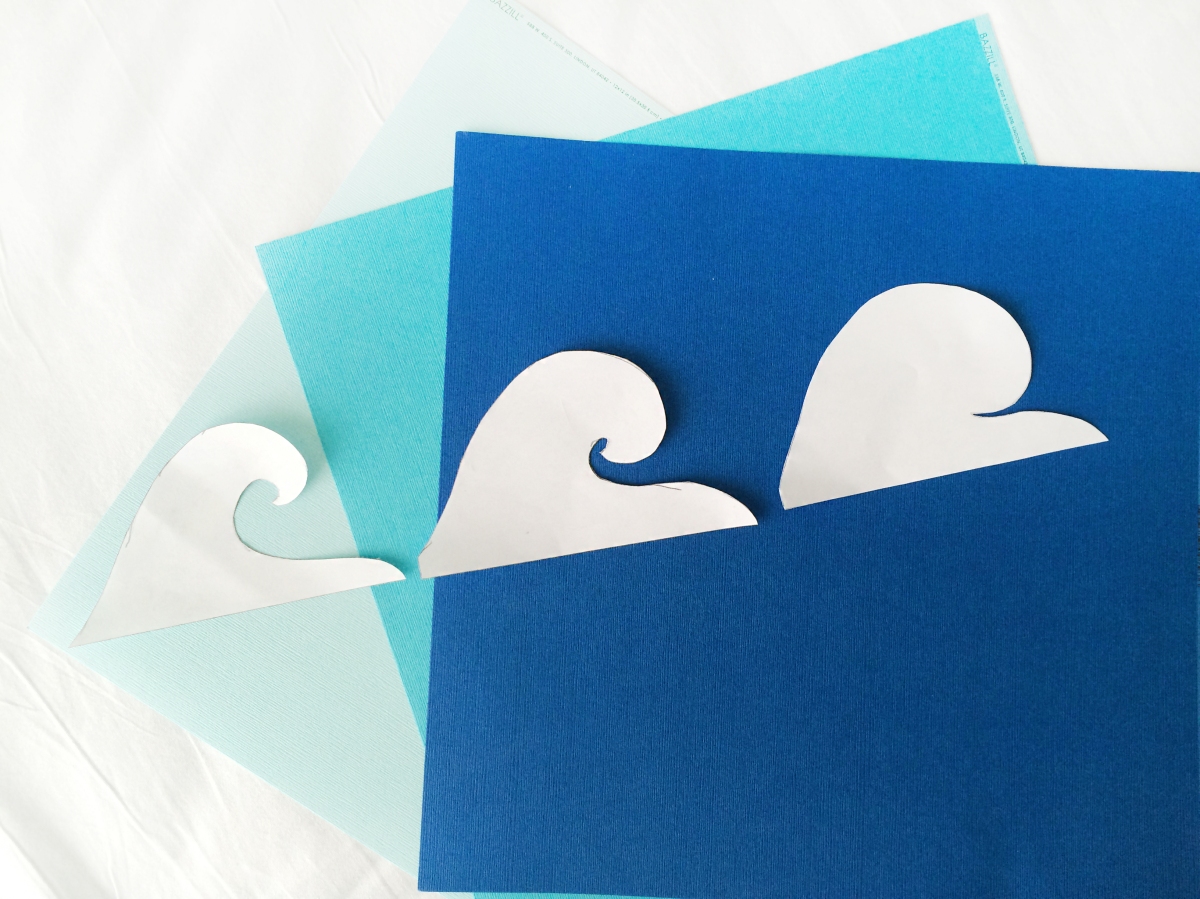
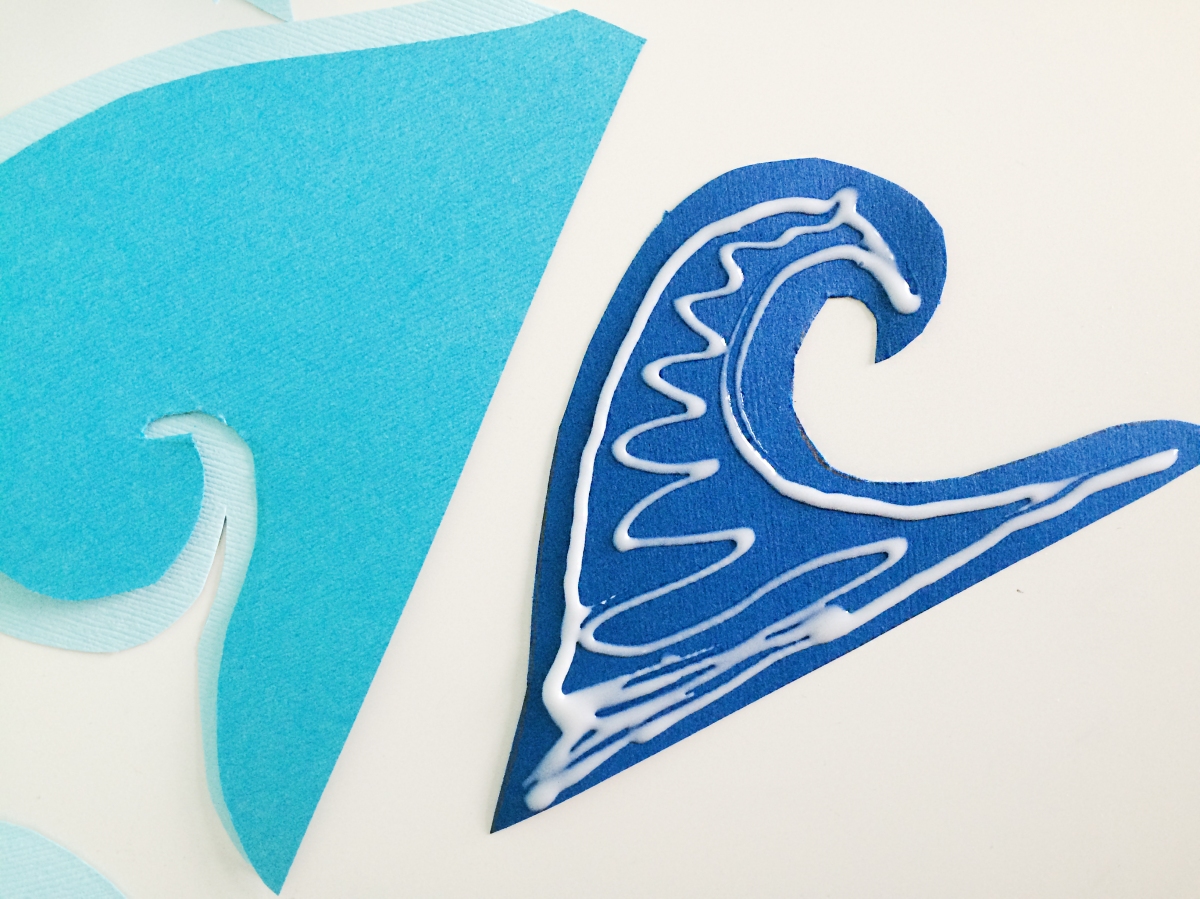
Once you’ve cut out all your different sized waves, you’ll want to grab some liquid or stick glue, I used liquid. Then begin gluing your layers together.
Once you’ve done that you can measure and cut your string. I made mine the length of my arms and that was perfect for all seven waves. Then tape the string to the back of each wave and hang it up! It’s an easy, breezy, beautiful DIY.
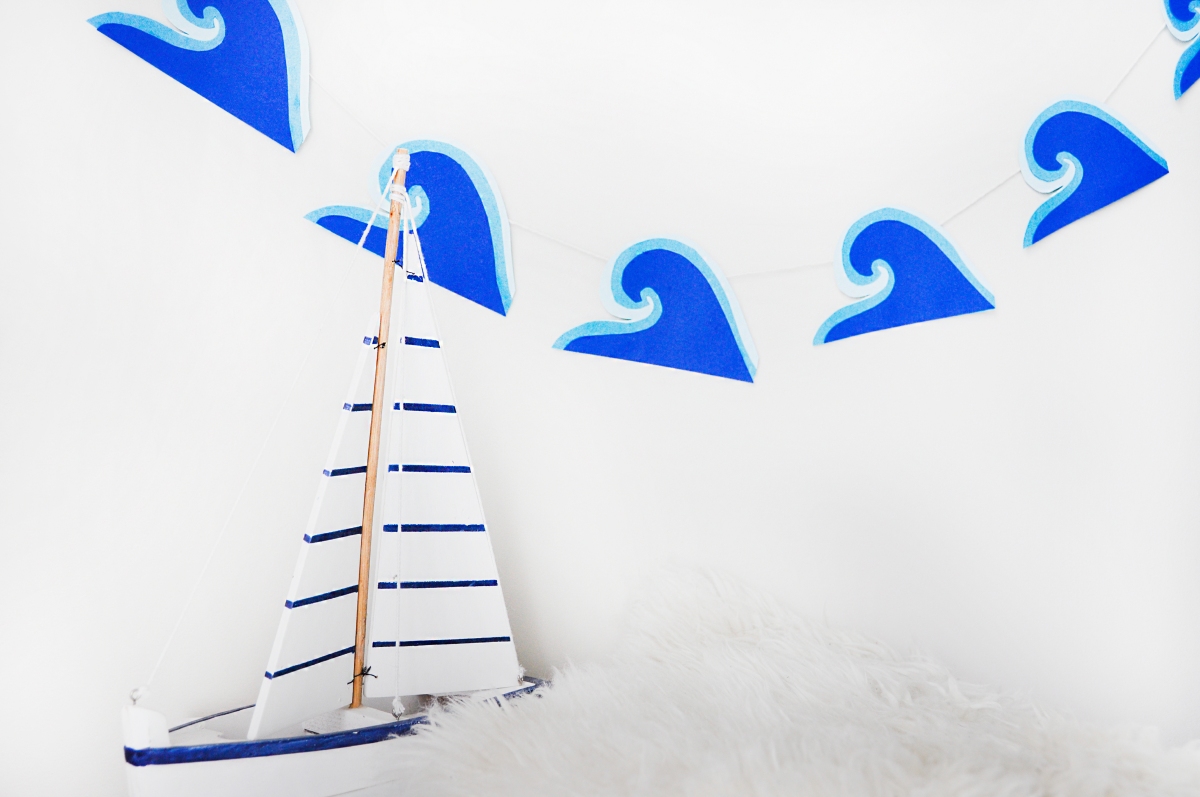
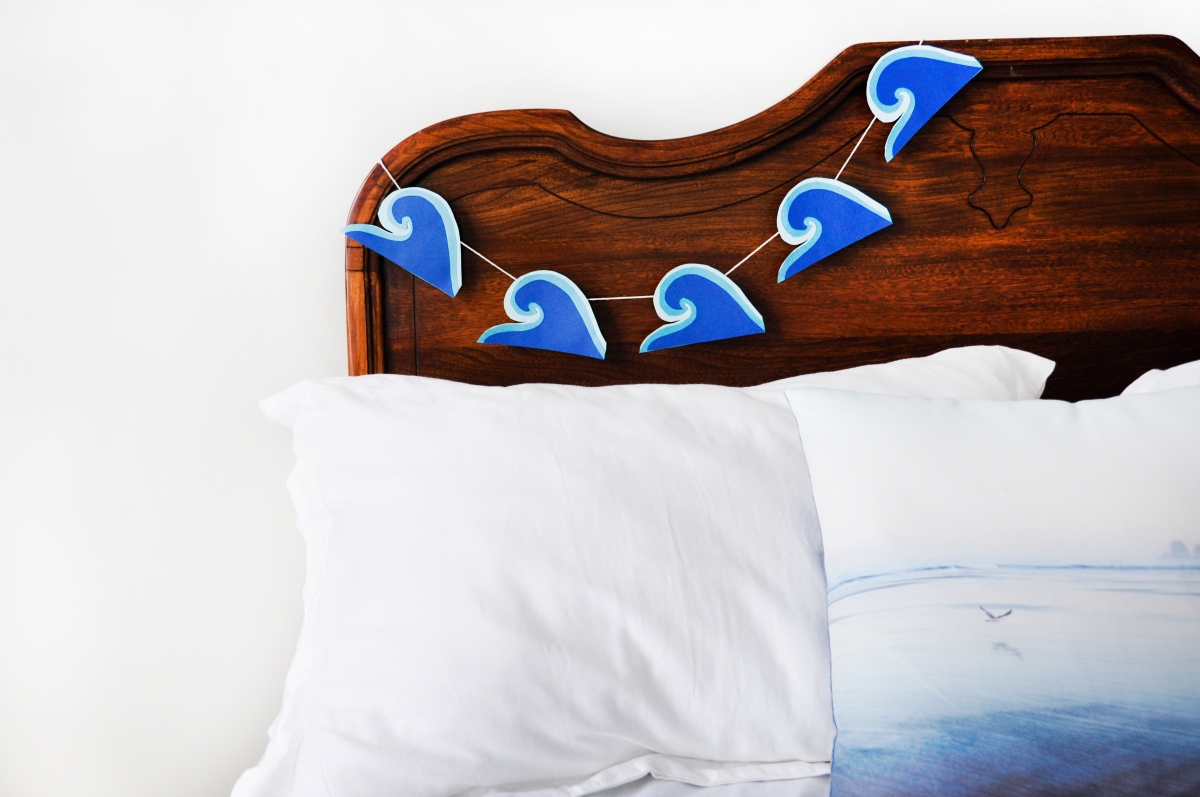
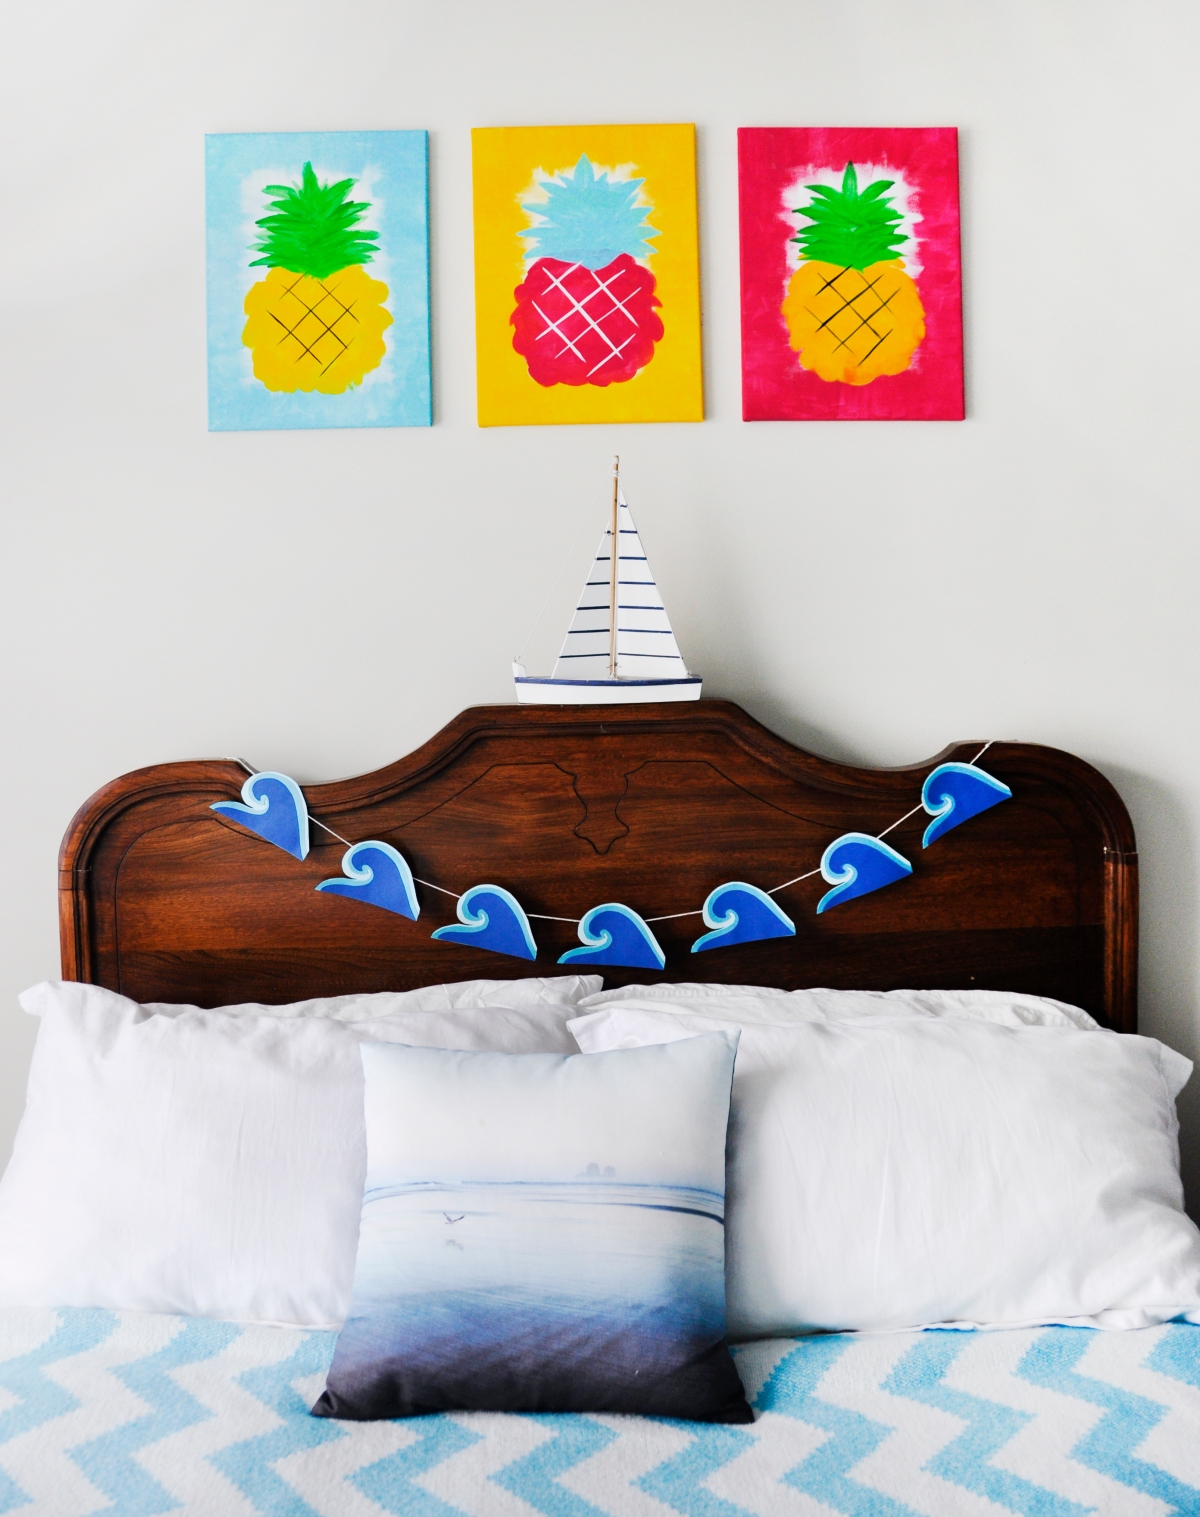
There you have it, my Ocean Room Decor DIY. Place it where you want, and begin to feel the calm set in.
Let me know if you make this little DIY in the comments below, I’d love to see how yours turn out.
Love,
Natalie Farrow
